INSUBCONTINENT EXCLUSIVE:
Laser cutters are in a fun place right now
Gone are the days when the cheapest machines were tens of thousands of dollars, and when the &compact& models were roughly the size of a
They&ve gotten affordable enough, and small enough, that a DIY home hobbyist can add it to their toolset without taking out a second
mortgage or needing much more than some desk space… but they&re still a rare enough machine that saying &I&ve got a laser cutter!& makes
people look at you like you&re a friggin& wizard.
One of the latest entries into this space is beamo, a compact, 30W laser cutter and
engraver built by Flux — a Taiwan-based team you might remember for raising $1.6 million on Kickstarter with its Flux Delta 3D
printer/scanner/engraver back in 2014.
As with Delta, Flux is turning to Kickstarter for the launch of beamo
They sprinted past their goal of $25,000 pretty quickly, currently sitting at roughly $350,000 raised with a little over a week to go
The early-bird models are going for $849, with the company pinning the final MSRP at $1,500
Shipping/taxes aren&t included in those prices, and can cost a couple hundred bucks, so factor that in to any purchasing decisions.
While I
tend to be a bit hesitant when it comes to crowdfunded hardware (having been burned too many times by products that either never arrived or
did arrive only to be total garbage), Flux has been down this road before; in addition to Delta, it also crowdfunded and shipped Beambox (a
slightly bigger, pricier, but more powerful laser cutter) just a few months back
In the case of beamo, it seems like the Kickstarter is primarily meant to help get the word out, rather than literally &kickstarting& the
Production is already underway, and units are already rolling off the line.
Flux sent me one of those early units to check out for a few
I haven&t had it long enough to do what I&d call a &review&; with things like laser cutters with their myriad moving parts and… you know,
lasers, new issues can pop up months after you open the box, as components wear and maintenance is required
So consider this more of a &first impressions& kind of thing.
My first impressions, though, are good.
For reference, I&d classify myself
laser experience as… moderate
More than most people you&d randomly ask, I&d wager, but less than if it were my job
I&ve put a hundred hours or so into training/creating with those aforementioned freezer-sized pro lasers, making everything from custom
etched pint glasses, to bespoke Christmas ornaments, to personalized rubber stamps over the years
I tend to look for excuses to shoot lasers at things.
Getting it running
My beamo unit came ready to go right out of the box, mirrors
aligned, moving parts all lubed up
I plugged it in, set up some basic ventilation, ran through about 10 minutes of software installation and configuration and started firing
It all just worked on the first shot.
Speaking of ventilation: you&ll need it
Laser cutting is basically a tiny, super controlled fire… and that means smoke
Depending on what you&re cutting, that smoke can be super noxious
Cutting wood? It won&t smell too bad, but it still not something you want in your lungs on the regular
Etching a logo into felt? It&ll smell like you&re burning a trash can full of hair
Beamo uses a 200CFM exhaust fan to pull smoky air out of the machine, dumping it out through a 4″ exhaust hose that you&ll need to run
through a window (or, if you&re feeling extra fancy, a dryer exhaust-style vent through a wall.) Expect to need about 8″ of clearance
between the machine and any wall behind it for the exhaust hose and its bends, unless the path to the window is a straight shot.
The exhaust
system is decent, but you&ll probably need to fiddle with how the hose runs to get it just right
If you&re venting through a window, you&ll want to figure out a way of sealing up the open gaps around the hose to limit any fumes that
might float back into the room
Put time into getting it right
If the room still smells smokey hours after you&ve cut, you&ll want to keep working on your ventilation
You don&t want to breath that stuff in, especially if you&re running the laser more than occasionally.
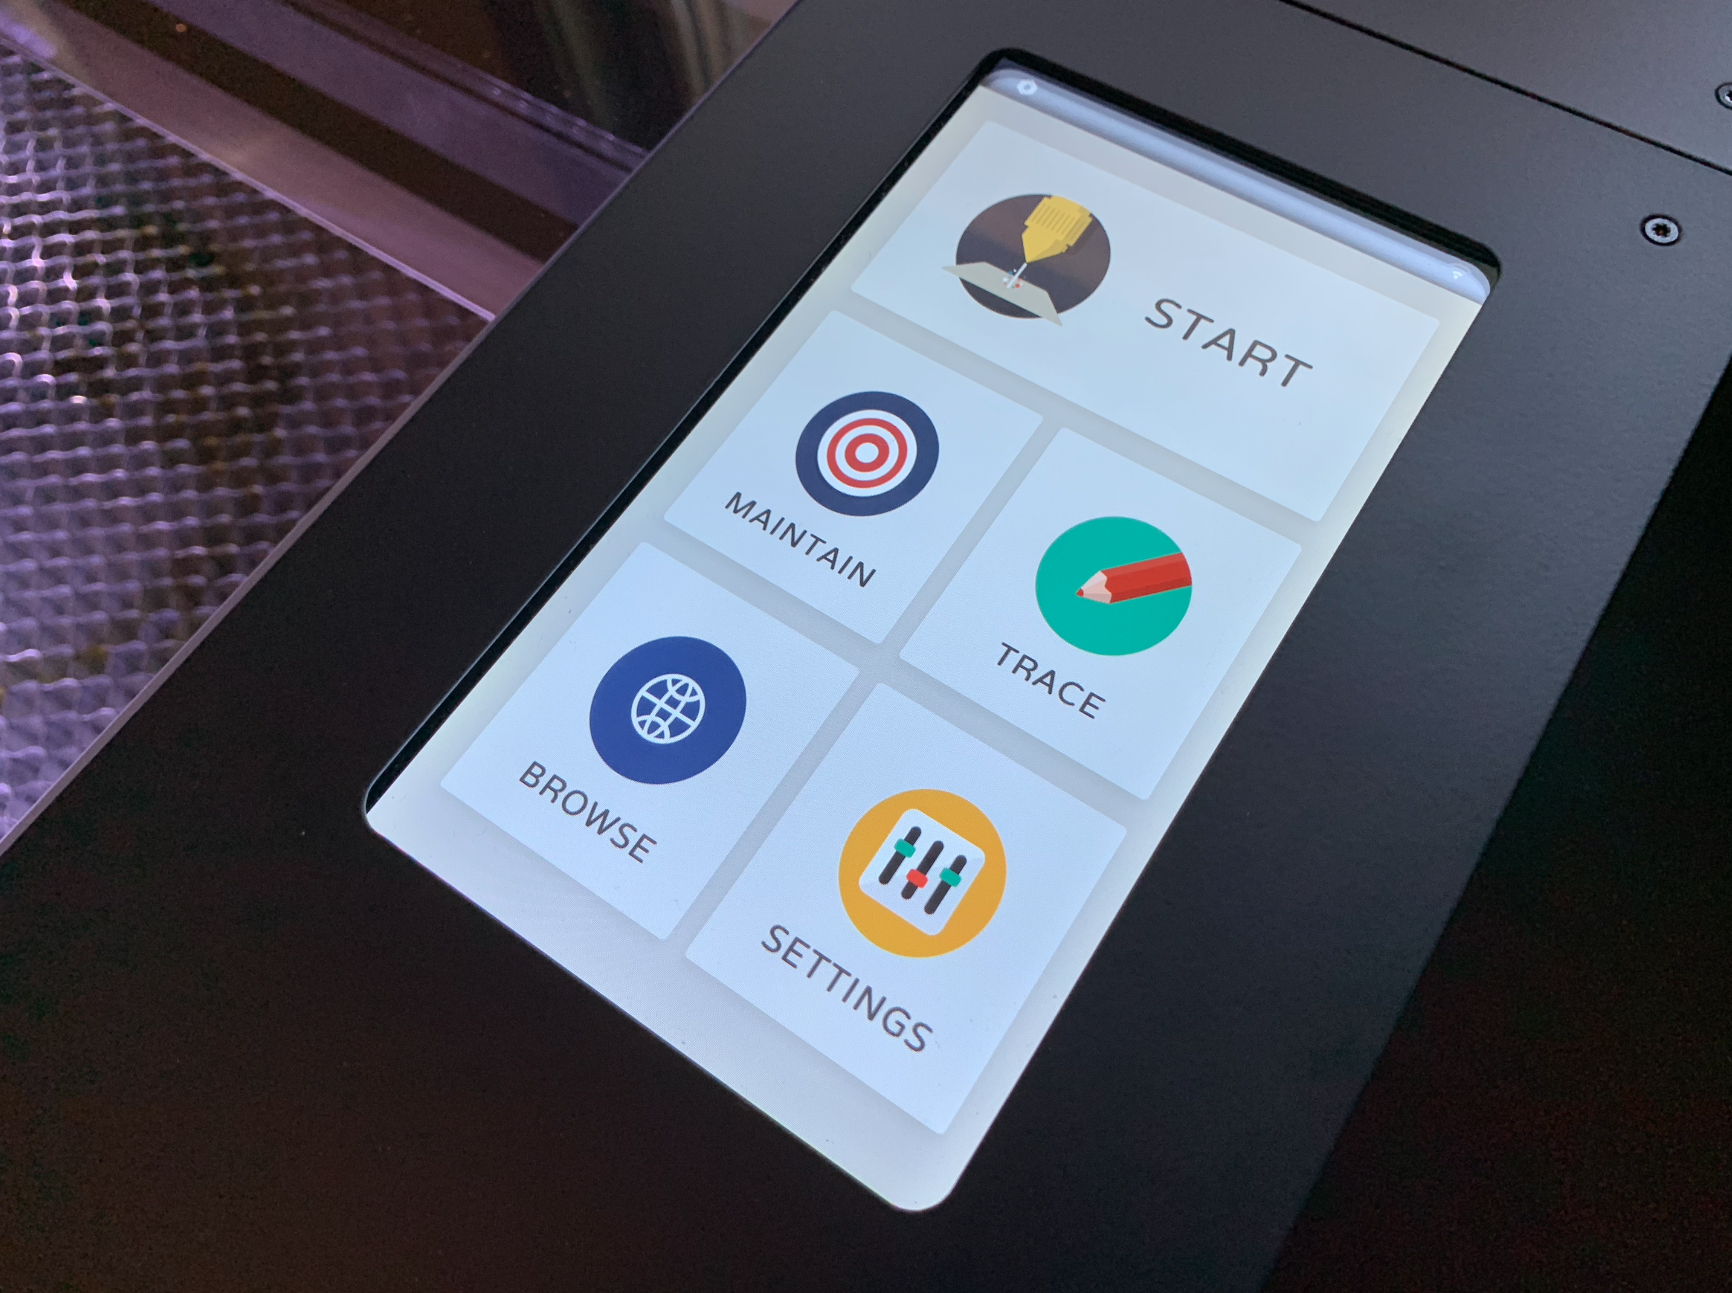
Beamo built-in touchscreen
You&ll mostly control it over Wi-Fi, but you can access some basic functionality and monitor job progress here.
If you&re new to laser
cutting, you should also put the time into learning what you shouldn&t put in these machines
Some materials are safe to laser cut, but tend to catch on fire easily
Some materials will just melt and screw up your machine
Other things (PVC!) will straight up emit chlorine gas when you hit them with a laser
If you&re moving beyond the basics of cutting thin wood/acrylic/cardboard or engraving glass, research it.
So what SHOULD you cut? Woods are
a good go-to (though you&ll want to limit it to less oily stuff — because, again, fire)
Cardboard is fun to cut for things like spray paint stencils
Leather is good, with practice, and you can do all sorts of really neat stuff with acrylic
You can&t cut glass, but you can engrave it; same goes for rubber, though that one you&ll want to source from a place that sells materials
known to be laser safe.
The thickness of the material you can cut tends to be limited by a laser wattage, while height/width is generally
limited by the size of the work area
At 30W, beamo laser can slice its way through wood about 1/8″ thick; its work area, meanwhile, comes in at 11.81″ x 8.27″
You can make a lot of cool stuff within those bounds, but be aware of them — buying a bunch of material only to get it home and realize
you&re a few watts short of a complete cut is a bummer
If you foresee needing deeper cuts or bigger pieces, beefier lasers exist without too massive a leap in price
As examples: Flux other laser cutter, the $2,500 Beambox, bumps the laser up to 40W and the work area up to 15.7″ x 14.7″; the $2,500
base model from competitor Glowforge comes in at 40W with a work area of roughly 11″ x 19.5″.
(One potential advantage of beamo over the
company previously released Beambox: whereas Beambox requires you to regularly fill up a water cooling reservoir to keep it running, beamo
water cooling is closed-loop, so the same water just keeps circulating
I&m interested to see how this holds up over time.)
Fire the lasers!
Got everything plugged in, ventilation set up and your materials
purchased? Time to cut! Well, almost.
You&ll mostly be controlling beamo through Beam Studio, a free piece of software provided by Flux for
Windows, macOS and Ubuntu
As far as laser cutting software goes, I&m really quite pleased with it so far.
Beam Studio is super straightforward, but darn powerful for
If you&re looking to cut out basic shapes, etch text or lay down some bezier curves, it can do it
Want to etch a picture of your dog into some wood to make a keychain? Just drop an image onto the work area, scale as desired, then move a
slider to tweak the black/white threshold until it looks right
You can work in layers, setting up a raster layer to be etched and then a vector layer to cut it out immediately after.
Beamo has a built-in
camera system, allowing you to quickly scan the work bed before dragging and dropping your designs wherever you want them
The first time you connect to beamo, you&ll be asked to calibrate the camera — a process that was considerably simpler than I expected
Put a piece of paper on the work bed, and beamo will fire a quick test pattern into it
Beam Studio will then snap a picture of what it just etched, projecting an overlay of where it thinks the test pattern is versus its scan
Nudge the overlay around until everything is perfectly stacked, and you&re set
You&ll want to re-run this alignment process every once in a while (it quick) if you need precise placement.
The camera system here really
After about 30 minutes with beamo, I was doing things that are at best annoying on camera-less cutters — things like etching a design,
cutting it out, then immediately flipping the cut piece and etching on the other side without worrying about precarious placement
I just rescanned the work bed, dragged the image where I wanted it on the freshly cut side B, and fired away.
The camera is quick, but not
Scanning the entire work area takes about 60 seconds
If you only need a certain area scanned (like, say, the top half of the work area, or the rough area around something you&ve already cut),
fortunately, that an option
Just drag the scanning boundary box accordingly.
If you need to do something beyond what the free software can handle (or if you just prefer
working in apps like CorelDraw or Illustrator), Beam Studio can import JPGs, PNGs and SVGs.
While more capable than I expected, the
software isn&t without its quirks
Beam Studio will try to keep you updated with a progress ticker, but don&t rely on it too much for predicting timing
I&ve had projects shoot up to 40% in the first 30 seconds, only to take five minutes for the rest to complete
There was an occasion or two where the software threw out an error in Mandarin that I didn&t want to dismiss without a quick pass through
Google Translate… but for the most part, it was solid, stable and fun to use.
In its base configuration, beamo laser is manually focused,
meaning you&ll need to focus things by hand each time you place new material inside the machine
Fortunately, focusing it is super straightforward: put material in, rotate a piece of acrylic attached to the laser head, lower the laser
head until the acrylic is just barely touching the material, then lock the laser head back in place and lift the acrylic out of the
way.
Flux says that it&ll ship a $250 add-on module that introduces autofocus to the mix, but I didn&t get to test that
They&re also working on a $499 rotary add-on that will let you etch designs onto cylindrical items (think shot/pint glasses), but out of the
box, it flat stuff only.
As with every single laser I&ve ever worked with, working with a new material — or even, sometimes, the same
material from a different source — requires some fiddling
You&ll be tweaking the speed at which the laser moves, the power of the laser and how many passes it makes over the same path; you want to
keep the power low enough to minimize scorching and maximize the life of the laser, while making sure you&ve done enough repeat passes to
Beam Studio comes with a bunch of presets for different materials that can get you pretty close (and you can save your own favorites, once
you&ve found them), but expect to experiment a little when you&re working with a new material for the first time
Buy extra material.
As for noise: operating with fans running full force, it not what I&d call &quiet,& but it not so loud that it
uncomfortable to sit next to
The company specs pin it at around 65 db — louder than your average conversation, but a bit quieter than, say, a vacuum
The fans do whir endlessly when the machine is idling, so you&ll probably want to cut the power between cutting sessions.
If for some reason
you need to open the lid while the laser is operating, beamo built-in automatic kill switch will cut power to the laser to protect your eyes
Close the lid again and the job can be resumed right from where you left off
While the company says that the acrylic lid provides sufficient eye protection for beamo 30W Class 1 laser (though they note that you
shouldn&t stare right at the laser beam, lid or not), I absolutely recommend picking up and wearing a pair of CO2 laser safety goggles,
especially when it comes time to pop the machine open and do any maintenance
Speaking of…
Foreseeable maintenance
Maintenance is an inevitable part of owning a laser cutter
As noted, I&ve only had the laser set up for a few weeks and everything came well configured, so I haven&t had to go digging under the hood
If something suddenly breaks on me during my time with the cutter, I&ll update this post accordingly
But either way, maintenance will be part of the process for owners.
Even if nothing breaks unexpectedly, some of the parts involved are
&consumable& and thus expected to wear down with use
The lens, mirror and laser tube, for example, are expected to last about a year with regular use, according to the company estimates
The team says those parts should cost about $19, $9 and $139 to replace, respectively, and you&ll be able to buy them through their online
Plan ahead for those recurring costs, and make sure you&re comfortable with the idea of eventually tearing the machine apart before you dive
in.
You&ll also need to keep things clean to keep them operating well
Burning stuff dirties the optics, and dirty optics lead to weaker cuts and faster wear
You&ll want to pop the work bed out regularly to get rid of any debris, and keep all the moving bits lubed
There more to keeping a laser cutter working well than say, an inkjet printer.
Overall, though, so far so good
The machine looks pretty great on a table; it not quite as shiny and Apple-y as a Glowforge, but it should blend into a home office or
It light enough to be easily moved by two people, and took me all of a few minutes to get up and running
If you don&t mind the occasional software hiccup, can figure out sufficient ventilation, are mostly working on projects that fit within
beamo wattage/work area capabilities and are down to get under the hood for maintenance, beamo seems like a solid machine so far.